So you now have a disassembled Gameboy and would like to put it back together. Let's begin then shall we?
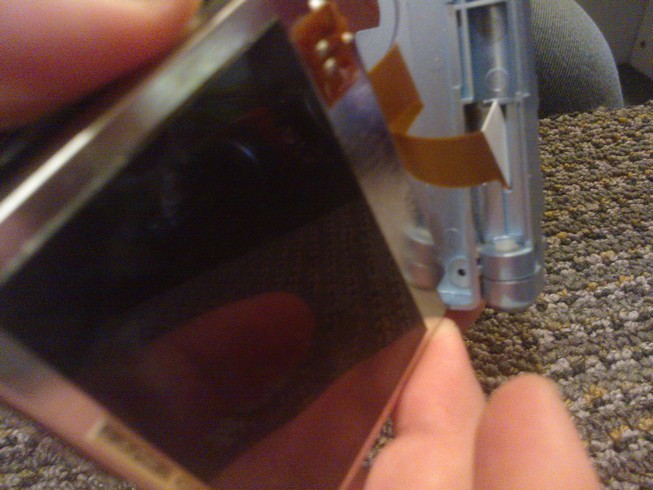
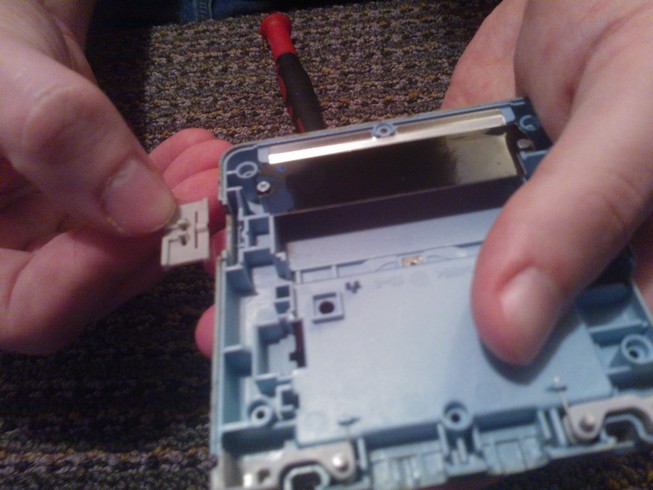
We begin by carefully feeding the screen ribbon cable back into the clamshell case. We need to first put the cable through the slot at an angle so that the entire gold pin area will fit through.
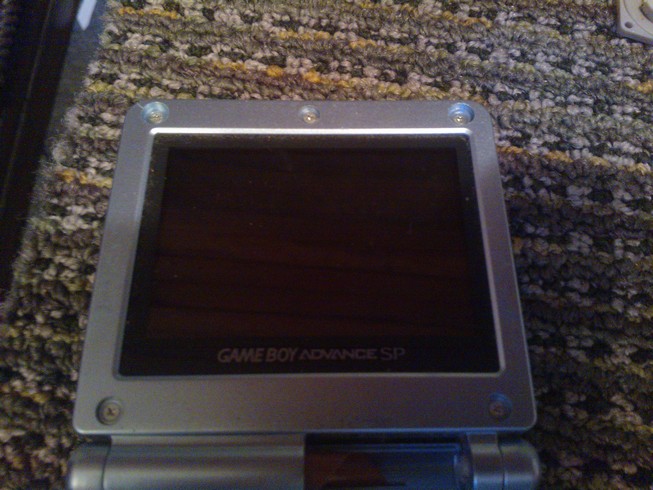
Replace the top panel and the five screws that surrounded the bezel of the screen.
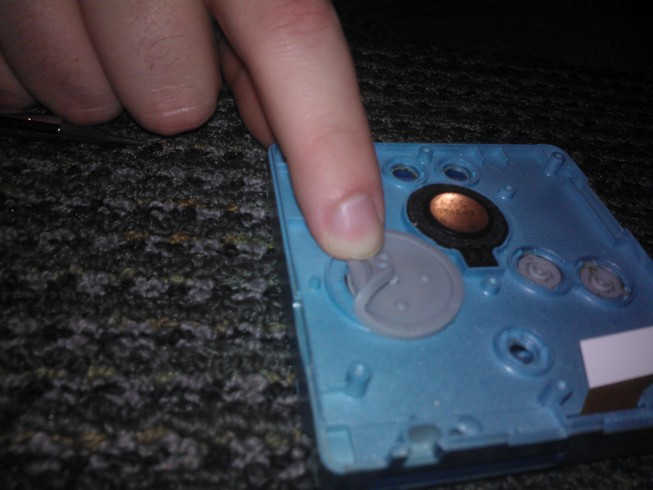
Replace the buttons by lining up the notches with the slots so that the buttons securely fit into place and then replace the silicon covers that protect the buttons.
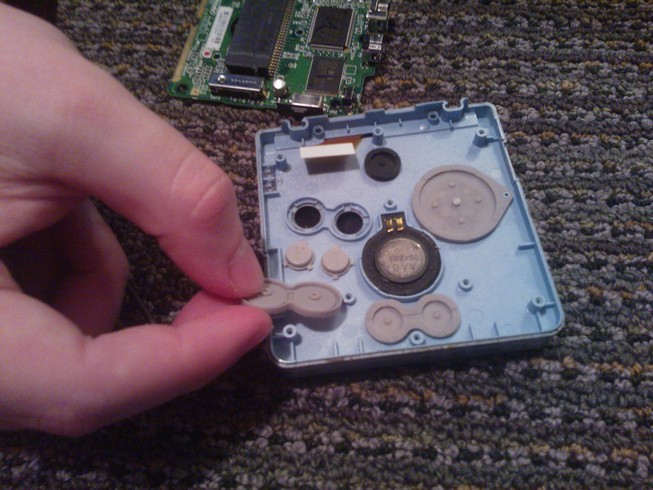
When reattaching the directional pad (the button that looks like a plus sign) there is a small peg that needs to be latched onto by the pad's silicon cover.
Now we'll focus on the bottom case buttons. The power switch has a bump that must go either above or below a corresponding bump in the bottom case. This is what causes the switch to either be on or off, as the power switch on the main board is more like a dimmer switch. Make sure you put the switch on the main board in the same position as the plastic switch, if you don't you may have issues powering the device on and off.
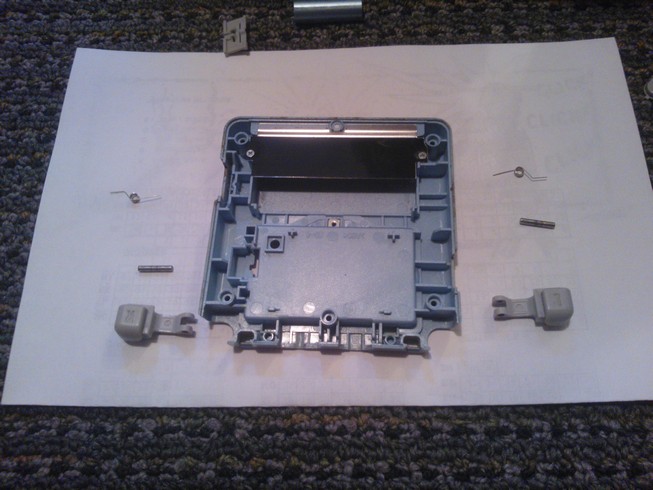
Next, for each shoulder button, hold it so that the letter (L or R) is facing away from you and line it up with the bottom case. Take the spring and line its tube up with the holes in the button, the bend in the spring will fit into the matching groove on the button. Now put the metal rod through the hole into the matching hole on the bottom case, fitting the other end of the spring into the matching groove on the bottom case.
Screw the main board to the case in the same counter-clockwise manner we unscrewed it.

The bottom case should easily fit back into place on top of the rest of the device. Once the case is securely together screw in the six tri wing screws in the same order we removed them.
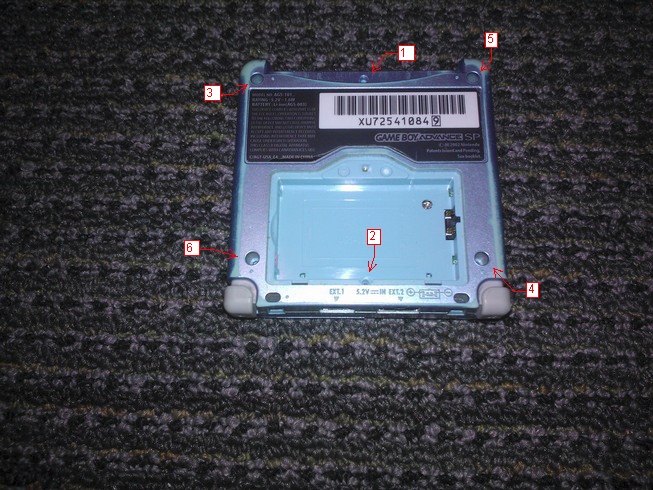
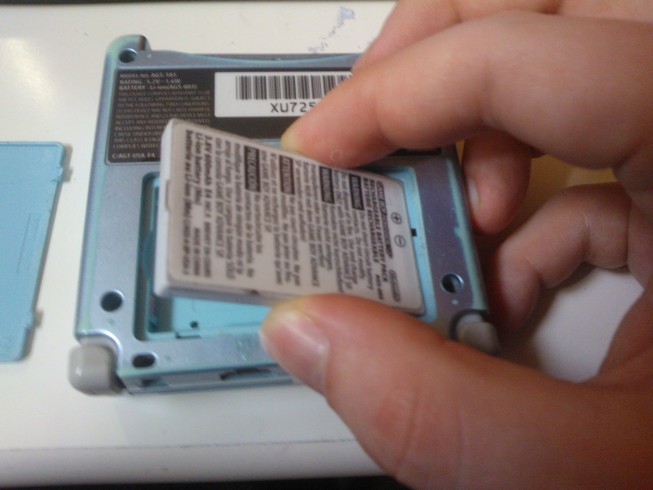
Replace the battery at an angle, it should fall right into place.
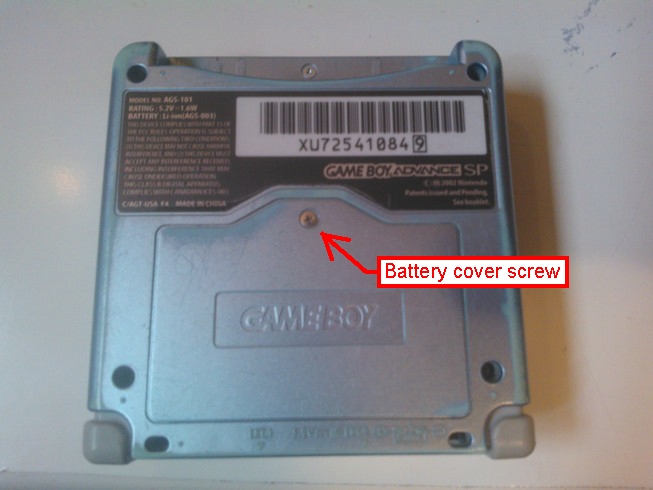
Put the battery cover into place also at an angle with the pegs fitting into the case, then screw in the battery cover screw and your Gameboy is complete again!